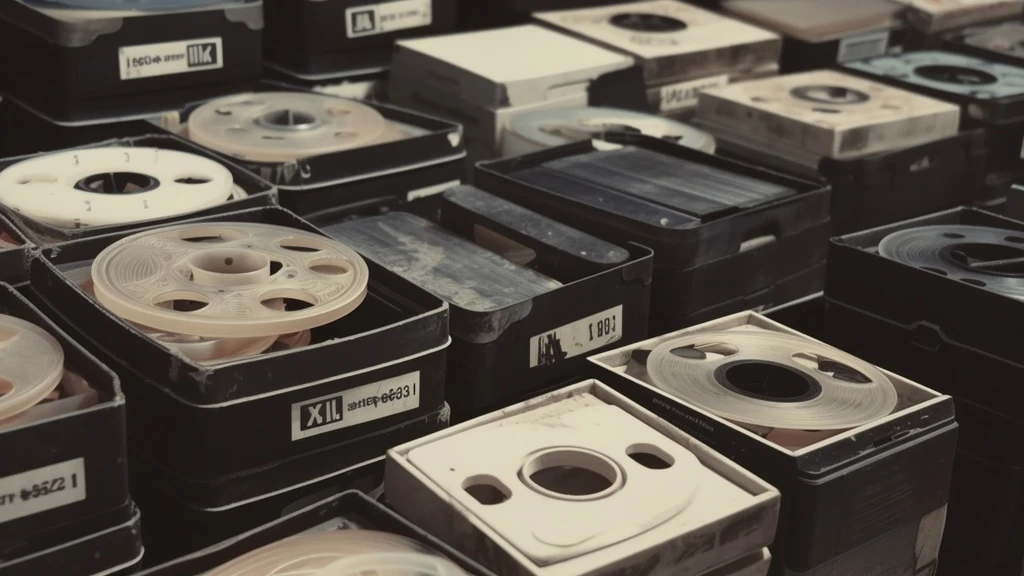
Moving an old video archive into Apple Photos sounds simple until the first file refuses to import, plays without audio, loses its date, or turns into a suspiciously huge conversion job.
The mistake is to treat “convert to MOV” as the whole solution. A video file has at least three separate concerns:
- the container, such as MKV, MOV, or MP4;
- the video codec, such as H.264, HEVC, VP9, or MPEG-2;
- the audio codec, such as AAC, MP3, AC-3, or Opus.
Apple devices are happiest with mainstream combinations such as H.264 or HEVC video and AAC audio in an MP4 or MOV container. That does not mean every file needs to be re-encoded. If the video and audio streams are already compatible, you can often just move them into a different container. That is fast and lossless. If only the audio is the problem, transcode only the audio. If the video codec is the problem, then pay the cost of a full transcode.
This is the workflow I would use before importing a batch into Apple Photos or iCloud Photos.
Install FFmpeg
On macOS:
brew install ffmpegOn Ubuntu or Debian:
sudo apt update
sudo apt install ffmpeg
Before converting an archive, keep the originals somewhere safe. FFmpeg is deterministic; your old family videos are not replaceable.
Inspect Before You Convert
Start with ffprobe. It tells you whether the file needs a cheap container change or a real transcode.
ffprobe -hide_banner \
  -select_streams v:0 \
  -show_entries stream=codec_name,profile,pix_fmt,width,height,r_frame_rate \
  -of default=noprint_wrappers=1 \
  VIDEO_00001.mkv
For audio:
ffprobe -hide_banner \
  -select_streams a:0 \
  -show_entries stream=codec_name,channels,sample_rate \
  -of default=noprint_wrappers=1 \
  VIDEO_00001.mkv
If you see H.264 or HEVC video plus AAC audio, the content is probably fine and the container may be the only issue. If you see VP9, AV1, MPEG-2, Theora, Opus, or AC-3, expect to transcode at least one stream for broad Apple compatibility.
Case 1: Only Change the Container
If the streams are already compatible, remux them into MP4:
ffmpeg -i VIDEO_00001.mkv \
  -map 0:v:0 -map 0:a? \
  -c copy \
  -movflags +faststart \
  VIDEO_00001.mp4
What this does:
-map 0:v:0takes the first video stream.-map 0:a?takes audio if the file has audio, but does not fail if it does not.-c copycopies streams without re-encoding, so there is no quality loss.-movflags +faststartmoves MP4 metadata to the front of the file, which helps progressive playback and is a sensible default for web and cloud use.
This is the best result when it works: seconds instead of minutes, no generational loss, and no surprise quality changes.
If FFmpeg refuses to write the file, that usually means one of the streams cannot be stored cleanly in the target container. Move to one of the transcode cases below.
Case 2: Keep Video, Convert Audio
Sometimes the video is already H.264 or HEVC, but the audio is not a good fit. In that case, copy the video and convert only the audio to AAC:
ffmpeg -i VIDEO_00001.mkv \
  -map 0:v:0 -map 0:a? \
  -c:v copy \
  -c:a aac -b:a 160k \
  -movflags +faststart \
  VIDEO_00001.mp4
This is still much faster than a full video transcode. It also avoids losing video quality just because the audio codec was inconvenient.
Case 3: Re-Encode to H.264
For old archives, H.264 in MP4 is the safest general-purpose target. Use this when the source video codec is not something Apple Photos handles reliably.
ffmpeg -i VIDEO_00001.mkv \
  -map 0:v:0 -map 0:a? \
  -c:v libx264 \
  -profile:v high \
  -pix_fmt yuv420p \
  -crf 20 \
  -preset slow \
  -c:a aac -b:a 160k \
  -movflags +faststart \
  VIDEO_00001.mp4
The important parts:
libx264produces H.264 video.-pix_fmt yuv420pavoids producing a file that is technically valid but annoying for common players and device pipelines.-crf 20is a quality target. Lower means larger and better; higher means smaller and worse. I usually start around 18-22 for archive migration.-preset slowspends more CPU to get a smaller file at similar quality. Usemediumif you want speed.aacis the boring audio choice, which is exactly what you want here.
Do not add random x264 profile and level flags unless you know the target device needs them. Modern Apple devices are not the same constraint set as an old hardware player.
Case 4: Re-Encode to HEVC
HEVC can give smaller files at similar visual quality, and Apple has supported HEVC for years. The tradeoff is slower encoding and less universal compatibility outside the Apple world.
ffmpeg -i VIDEO_00001.mkv \
  -map 0:v:0 -map 0:a? \
  -c:v libx265 \
  -tag:v hvc1 \
  -pix_fmt yuv420p \
  -crf 24 \
  -preset slow \
  -c:a aac -b:a 160k \
  -movflags +faststart \
  VIDEO_00001.mp4
The -tag:v hvc1 detail matters for Apple playback paths. Without it, HEVC files can be valid but less friendly to Apple software.
For HDR video, do not blindly run this command. HDR preservation needs explicit color metadata handling and is easy to get wrong. For normal SDR home videos, this command is a reasonable starting point.
Preserve Metadata Where Possible
Dates matter in Photos. If a video lands on the wrong day, the import is technically successful but the archive becomes harder to browse.
Ask FFmpeg to copy container metadata:
ffmpeg -i VIDEO_00001.mkv \
  -map 0:v:0 -map 0:a? \
  -map_metadata 0 \
  -c:v libx264 -pix_fmt yuv420p -crf 20 -preset slow \
  -c:a aac -b:a 160k \
  -movflags +faststart \
  VIDEO_00001.mp4
If the original file has no useful creation date, FFmpeg cannot invent the right one. After importing a small test batch, check sorting in Photos before converting everything. If dates are wrong, fix metadata first rather than repairing hundreds of imported videos by hand.
Batch Conversion
For a directory of MKV files, this is a conservative H.264 batch:
mkdir -p converted

for f in *.mkv; do
  [ -e "$f" ] || continue
  ffmpeg -i "$f" \
    -map 0:v:0 -map 0:a? \
    -map_metadata 0 \
    -c:v libx264 \
    -profile:v high \
    -pix_fmt yuv420p \
    -crf 20 \
    -preset slow \
    -c:a aac -b:a 160k \
    -movflags +faststart \
    "converted/${f%.*}.mp4"
done
For a large archive, convert ten files first, import them into Photos, and check:
- playback on Mac and iPhone;
- audio presence and sync;
- creation dates and sorting;
- file size;
- visual quality in dark and high-motion scenes.
Only then run the full batch. The boring test batch is the difference between a clean migration and a weekend of undoing your own automation.
The Short Decision Tree
Use this order:
- Run
ffprobe. - If video and audio are already compatible, use
-c copy. - If only audio is incompatible, use
-c:v copy -c:a aac. - If video is incompatible, transcode to H.264 for maximum compatibility.
- Use HEVC when smaller files matter and you are comfortable with slower encoding and Apple-centered compatibility.
- Always test a small import before processing the archive.
The point is not to worship one magic FFmpeg command. The point is to avoid re-encoding years of memories unless the file actually needs it.